The super simple and easy answer to the question: How to make fluffy buttermilk pancakes (for two).

So, something to know about me is that I love life hacks. I’m a sucker for an article about the perfect way to untangle ear buds, how to use a Raspberry Pi to operate everything in your house, how to never lose a sock again in the dryer (remember when I learned how to shred chicken in a stand mixer?).
But I’m fully aware that mileage will vary, and most life hacks don’t actually end up being all that life changing. So when an article on how to make the fluffiest pancakes came through my feed reader, I didn’t think much of it. But it was a slow Saturday morning, and I had some buttermilk to use up, so it was the perfect excuse for a pancake science project!
The article posited that you could vastly improve the texture of your pancakes by changing the way and order in which you added eggs to your pancake batter (spoiler alert for that article, their recipe is quite different, so their end results actually differed from mine!).
To test this out, I made three batches of pancakes with my favorite buttermilk pancake recipe as a base. The first batch was made following the original recipe, where an entire egg is added to the liquid ingredients all at once. It’s a great recipe, very fluffy on its own and is my go-to pancake recipe.
For the second batch, I saved the white of the egg until the very end and stirred it in until smooth. I was worried it would overwork the pancake batter, but the resulting pancakes were fantastic. They weren’t visibly any noticeably fluffier, but the texture was lighter.
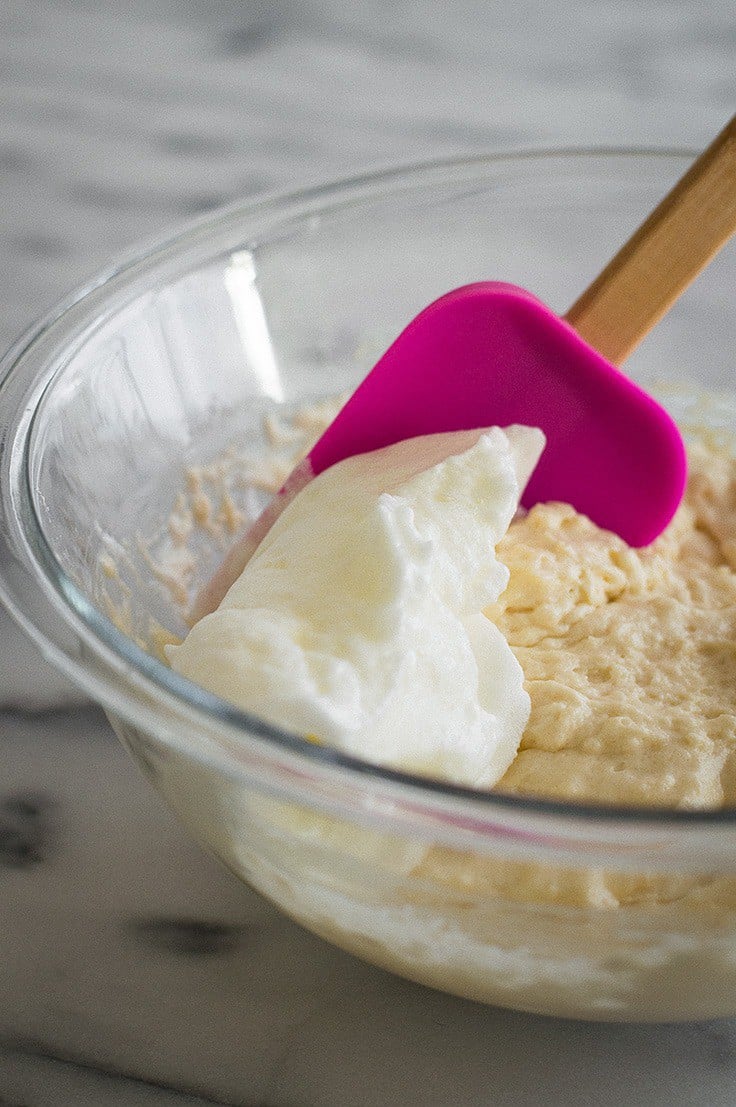
For the final batch, I mixed up everything but the egg white, and then in a small bowl, with an electric mixer, beat the white until stiff peaks formed (it only takes about a minute with one white) and then right before the pancakes went on the griddle, I folded that in. The result: GUYS, THIS IS THE WAY I WILL ALWAYS MAKE MY PANCAKES FROM NOW ON.
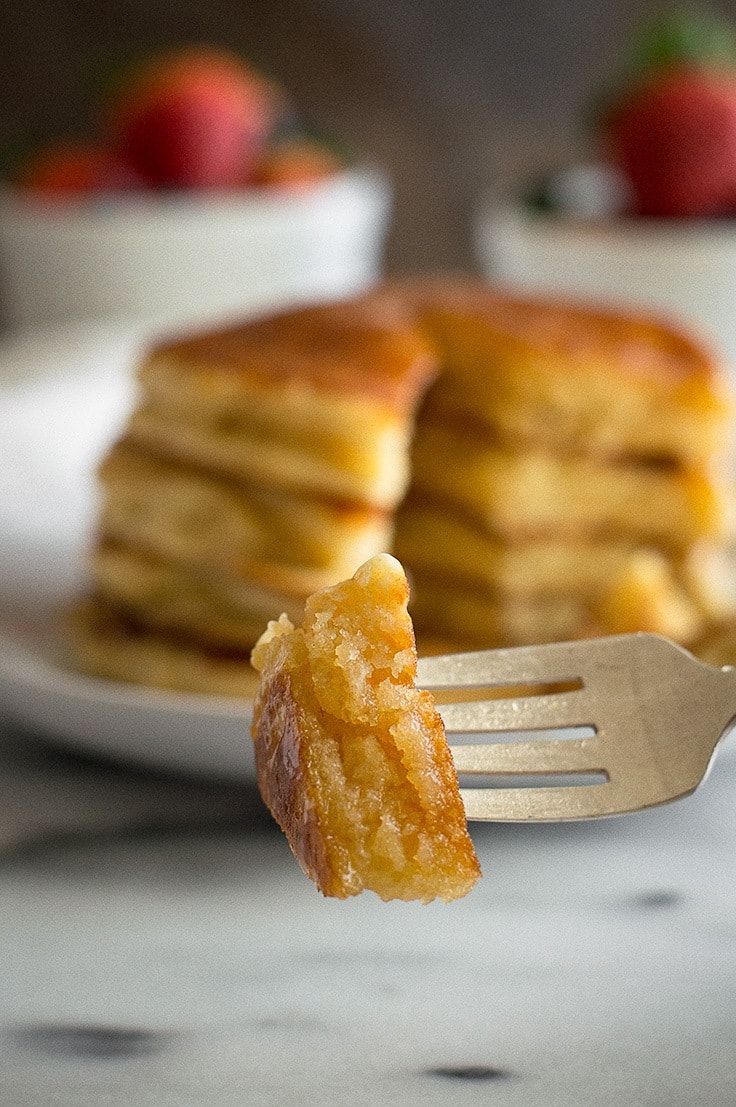
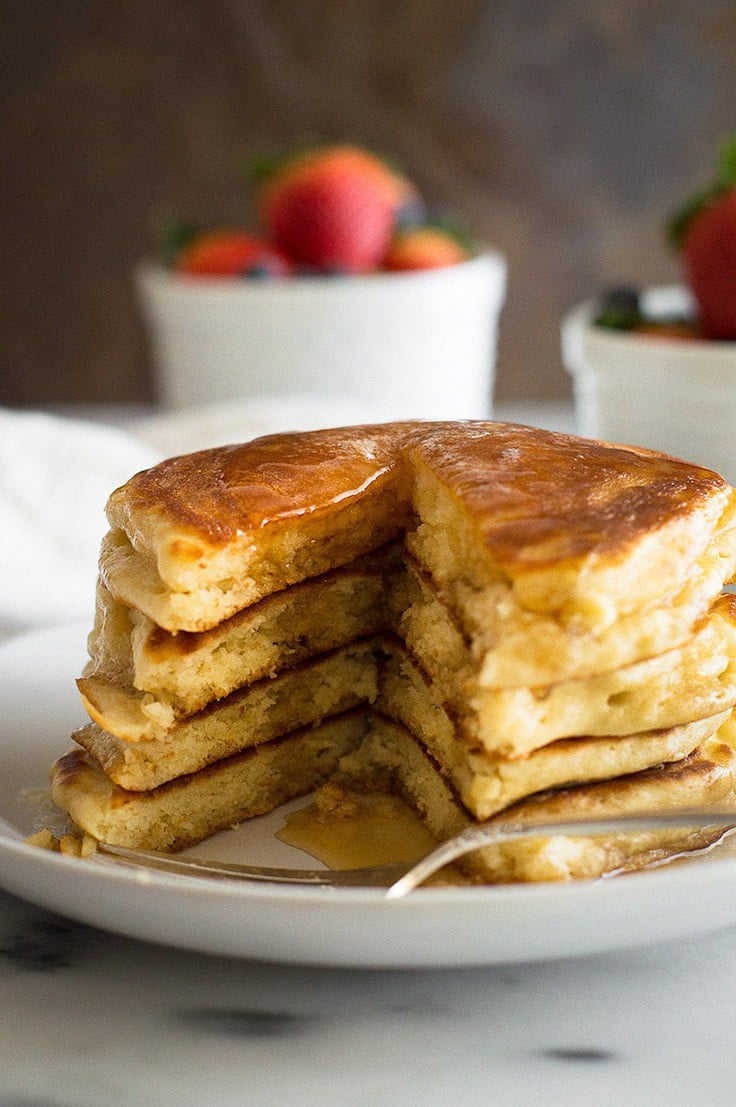
The texture of these pancakes is amazing. They are light and fluffy and perfect, like the pancake a waitress with a heart of gold serves you in some charming Midwest diner in heaven.
The extra step of beating the egg white takes hardly any extra time and is totally worth it, but if you don’t have an electric mixer, simply separating the egg and adding the white at the end still makes an amazingly fluffy pancake!
And this is a buttermilk pancake recipe, so you know the pancakes are going to be fabulous and a little tangy, but if you don’t have buttermilk, no worries. I’ve included instructions in the recipe for making you own. Buttermilk is best if you have it, but a little milk and lemon juice makes a perfectly acceptable substitute.
Please read the recipe notes on flour measurement!
Fluffy Buttermilk Pancakes for Two
Ingredients
Special Equipment
Pancakes
- 1 cup (120g) all-purpose flour measured by weight or using the spoon and sweep method*
- 2 tablespoons granulated sugar
- 1 teaspoon baking powder
- 1/2 teaspoon baking soda
- 1/2 teaspoon salt *
- 3/4 cup buttermilk *
- 1 large egg separated
- 2 tablespoons unsalted butter melted and slightly cooled
- 1/2 teaspoon vanilla extract
- Cooking spray or a little butter for pan greasing
Instructions
- In a small bowl, whisk together flour, sugar, baking powder, baking soda, and salt.
- In a medium bowl, whisk together buttermilk, egg yolk, butter, and vanilla. Add flour mixture and stir until just combined--batter will look a little thick.
- Heat griddle to 350°F or skillet to medium heat.
- While your griddle heats, in a small bowl, with a handheld electric mixer, beat egg white on high until stiff peaks form--the egg should be bright white, and when beaters are lifted out, peaks should stand straight up.
- Fold egg white into the batter with a baking spatula, being careful not to overmix and deflate the egg.
- Once your cooking surface is hot, lightly grease, and drop on slightly heaping 1/3 cups full of batter (if making in a skillet, you will have to cook in two batches) and cook until bubbles begin to form on the surface of your pancakes. Flip and cook until done.
- Add your favorite toppings and enjoy!
Notes
Adapted from Lovin the Oven
This post may contain affiliate links, which means I receive a small commission if you make a purchase using them. There is absolutely no additional cost to you.

Kristina Z. says
Brilliant!! This is the only pancake recipe I will be using from now on!! I made half of the five(so 3) with frozen blueberries which I added to the pan with a dab of butter each time before I dropped in the batter. My skillet made them perfectly on the stove on a setting of 4, one below medium heat. Delicioso, chef’s kiss!!
Heather says
These are light, fluffy, and delicious. My husband and grandson loved them, and are so easy to make that this will be my go to recipe from here on out.