A few simple gingerbread house tips and tricks.
In college, my sister and I started a gingerbread house tradition. While home for Christmas breaks, when the novelty of no homework began to wear off, just before the boredom of being home really started to drive everyone crazy, we’d put on a day-long marathon of movies, tear our parents’ kitchen and dining room apart, and make a gingerbread house.
We made our first house in 2009 out of graham crackers and have made one every year since, finally graduating to actual homemade gingerbread last year. This past weekend, we made our seventh house and while we’re not exactly expert gingerbread-house craftsmen, we have learned a few things through trial and error. These are my favorite recipes, tools, and tricks we’ve discovered over the years:
Recipes
Structural Gingerbread – I love this dough. It’s easy to make, easy to work with, and dries hard and strong. In the two years we’ve used it, I’ve never had so much as a crack. Bonus: If you measure wrong (not that I would ever do this), it’s very forgiving of some last-minute trimming (I DID NOT HAVE TO DO THIS ON SATURDAY IAMNOTLYING).
Frosting Cement – The canned stuff works fine when you are just gluing four graham cracker walls together, but if you are putting together anything more complex, this is the frosting you want. They aren’t kidding when they say cement. This stuff is so strong once it dries that you could probably build a real house with it.
Marshmallow Modeling Clay – Just in case you too feel the need to sculpt a dragon/detective for your house, this edible clay is great. It contains ingredients you probably keep in your pantry and is about as easy to work with as regular clay. The most difficult part is working in the coloring, which will take you a few minutes.
*All of these things are technically edible, but we don’t eat our houses, so I can’t comment on the taste.
House Templates
Victorian Gingerbread House – There is a surprising dearth of free gingerbread templates on the web for anything more complicated than your basic four walls and a chimney, so I was absolutely DELIGHTED to find this Victorian template from Kitchen Trials last year. It’s what we used for our 2014 house and it was perfect.
Tools
Edgeless Cookie Sheets *affiliate link* – Trust me, you’re going to want edgeless trays if you are baking your own gingerbread. They can fit larger pieces of gingerbread, they won’t stretch your dough when you move it from cutting board to tray, and most importantly, there aren’t any edges on which to burn your wrists if you have to do some trimming while the tray is still hot.
Piping Bags/Tips *affiliate link* – Even if you aren’t piping designs on your house, a piping bag is invaluable for applying frosting cement exactly where you want it. As someone who for years spread frosting with a knife, I can’t even put into words how much easier a bag will make your construction.
Parchment Paper *affiliate link* – If you roll and cut your dough directly on parchment paper, it makes transfer to a baking tray easy and will keep your cut pieces from stretching out of shape. Plus clean up is a breeze!
Other Tips and Tricks (AKA, lessons we learned the hard way)
- If you cut your dough and then bake, check and trim it after it comes out of the oven! A good gingerbread dough shouldn’t spread too much when it cooks, but it probably will a little bit, and a little bit is all it takes to throw your angles off. Check your pieces against their stencils and re-cut while the gingerbread is still warm and pliable.
- If you get any air bubbles in your dough, very, very gently smooth them out with a light rolling pin as soon as you take it out of the oven.
- Make your gingerbread house a two or three day project. Copying and cutting and rolling and tracing and baking and cooling takes a while. For these bigger houses, I like to cut the stencils day one, cook the gingerbread on day two and assemble day three. It will make the whole project feel so much less overwhelming.
- Use cans and mugs to prop up your walls while they are drying.
- Finally, buy more ingredients than you think you need! If something goes wrong, or you need more dough, there is nothing worse than having to go back out and buy ingredients in the middle of your baking. Believe me. It’s. The. Worst.
A History of Our Houses
If you’d like, take a walk down memory lane with me…
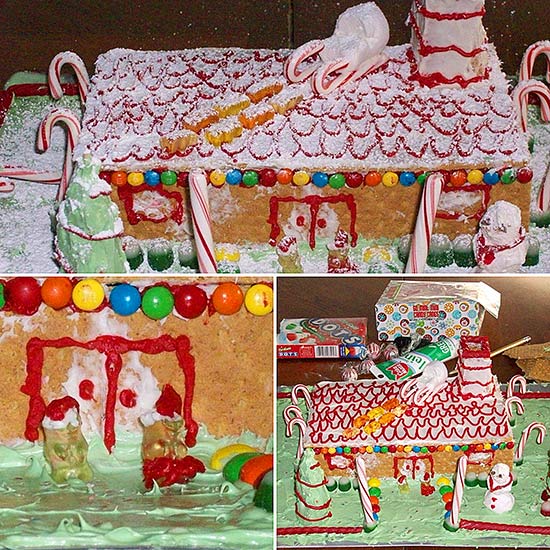
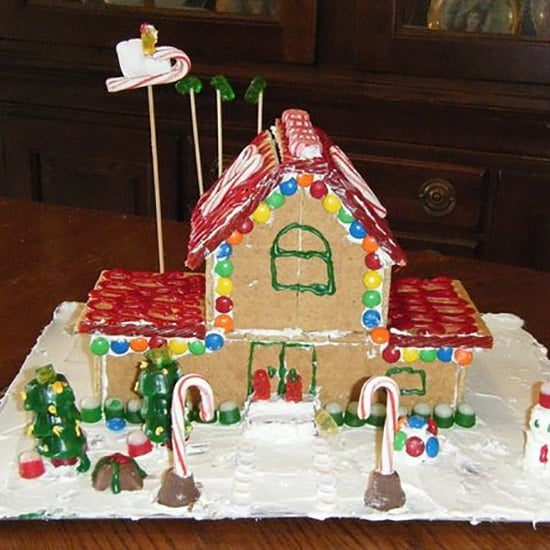
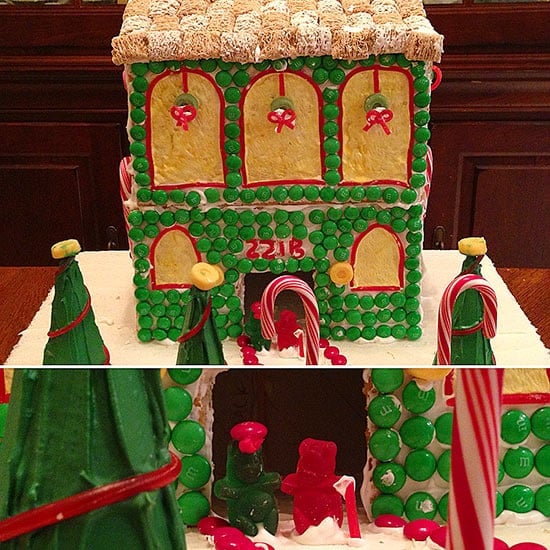
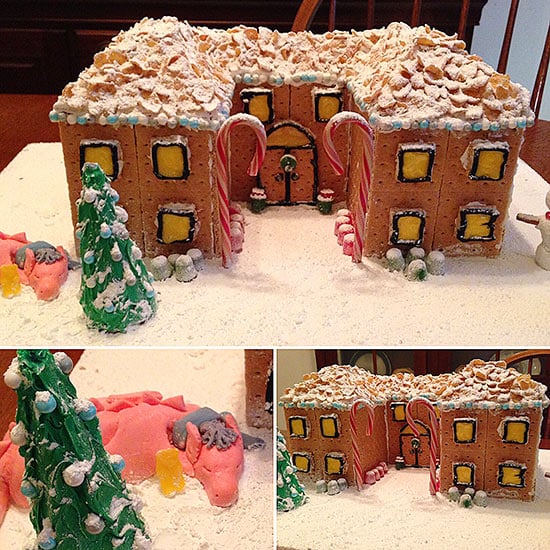
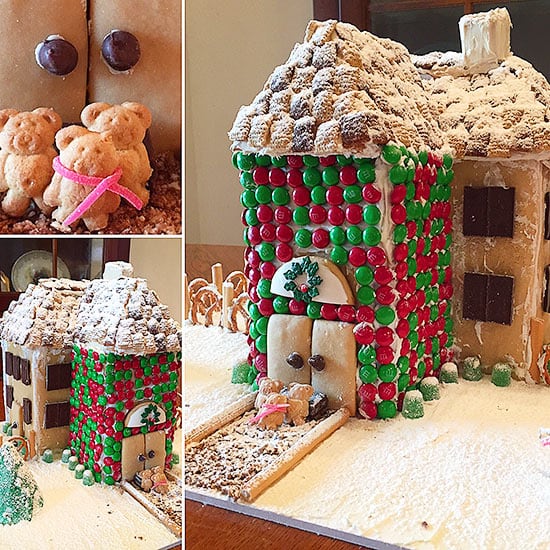
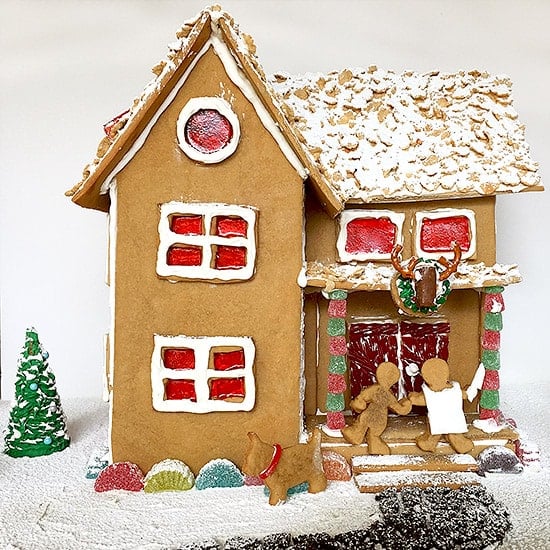
Did you make a gingerbread house this year? Plan to? Have any tips? Share them in the comments below!
This post contains affiliate links, which means I receive small commission if you make a purchase using one of the links. There is absolutely no additional cost to you.



Pam says
Hey – just to give credit where credit is due… The house you made in 2015 is out of the Gingerbread Architect book by Susan Matheson and Lauren Chattman. The website you linked to has a different Victorian house pattern. Have a great season of gingerbread this year!
Tracy says
Hi, Pam. Good eye! Yes, the 2015 house was from from the book you mentioned. I honestly can’t remember why I didn’t recommend it in the post (I wrote it four years ago, so my memories of assembling it are hazy). The Victorian house I linked to is what we used for our 2014 house. Hope you’re also having a wonderful holiday season!!
Angela / Only Crumbs Remain says
Wow! Your Victorian Gingerbread house is amazing! And with a stags head shield as well! You’ve clearly gone up the gingerbread property ladder over the years Tracy!
I’ve never made a gingerbread house before but it’s something I really fancy doing. Not sure I’ll get chance this year, but I’m definitely pinning this for when I do get the opportunity.
Angela x
Tracy says
Thanks so much, Angela! Yeah, I love looking back our first houses and seeing how far we’ve come. …Then I look at some of the AMAZING houses on Pinterest and see how far we have to go. 🙂
You definitely should make one when you have a chance. It’s so much fun!
Natasha @ Salt and Lavender says
Wow Tracy, you guys sure take it seriously! What a cute tradition. I haven’t made a gingerbread house in yeeeeeeears. I really lack patience hahaha. I love your photos… your past houses sure are cute.
Tracy says
Thanks, Natasha! Yeah, it’s definitely a big project, but it’s a perfect excuse to spend the day with one of my favorite people, watching Christmas movies and eating candy that is supposed to be for decorating. 😉
miss miller says
this web page offered great tips for building lovely gingerbread houses