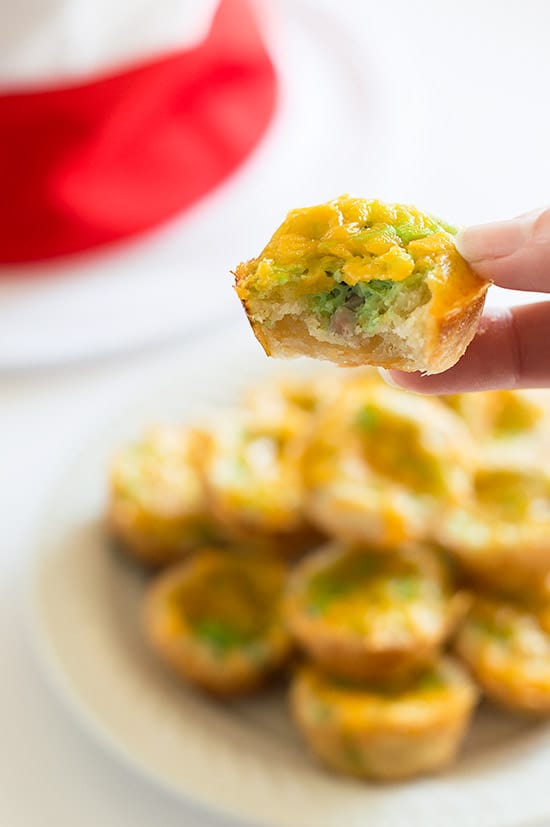
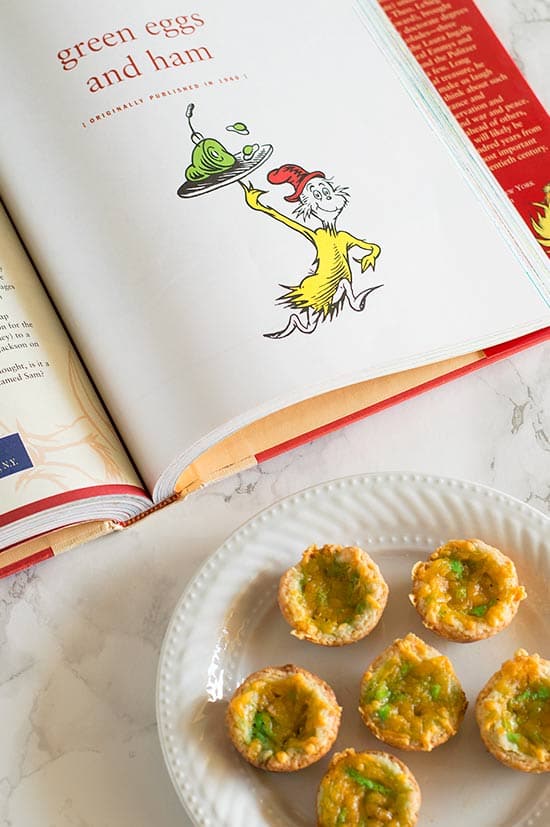
Green eggs, ham, and cheddar cheese in a buttermilk crust make a fun and delicious tribute to one of Dr. Seuss’ most beloved works. So tasty you might not want to share them with the kids!

This might sound a little odd coming from a grown-up human being, but I LOVE Dr. Seuss. In college, I worked for three years doing one-on-one therapy with autistic children, which meant I spent many hours reading and reading children’s books with my clients. Dr. Seuss’ books were the only ones I never ever tired of. I still have half of them memorized and some nights when I can’t sleep, I see how far into The Lorax I can recite before I drift off.
March 2nd is Dr. Seuss Day (Read Across America Day), so now seemed the perfect time to post this Green Eggs and Ham Mini Quiche recipe!
This idea has actually been bopping around in my head since my therapy days, but as some of you may know, many autistic children have a hard time with oddly textured foods like eggs. Getting them excited about eggs that were suddenly a new color too would have been a hard sell. And since I don’t have kids yet, I’m sharing them here today in hopes that you’ll share them with your kiddos/nieces and nephews/students/random kids on the street just kidding don’t do that that’s a terrible idea.
These things are made with purely kid-friendly ingredients. We start with the amazing flaky buttermilk crust, add diced ham, egg, a little green dye to give us our titular color, and then top the whole thing with cheddar cheese.
Bonus, this particular pie crust recipe is SO easy to work with. You make it in the food processor so you don’t have to worry about hand cutting butter into the flour, and it is so much easier and more forgiving to work with than your usual fat and flour pie crust. It’s perfect for when you have little hands helping you cut and roll, and it is what I use any time I am making something that requires more hands-on time than just draping and cutting. Believe me, this is not the last time you’ll be seeing this dough recipe on the blog.
The end result is these super simple, super adorable mini green eggs and ham mini quiches, and guys, they ARE SO GOOD.
I realize I made these intending them to be a kid’s snack, but leave out the food coloring and they are still the best quiches I’ve ever made. Once I tasted them, I was of half a mind to just publish them as regular mini quiches so adults would try them too!
What I’m basically saying is: I will eat them in a house. I will eat them with a mouse. I will eat them here and there. I will eat them anywhere!
The buttermilk pie crust in this recipe now has its own post on the site. If you’d like to see a step-by-step walk through for making this dough, go check it out.

Green Eggs and Ham Mini Quiche
Ingredients
Buttermilk Crust
- 1 cup (8oz) cold unsalted butter cut into 1-inch chunks
- 2 1/2 cups (350g) all-purpose flour
- 1 tablespoon sugar
- 1 teaspoon salt
- 2/3 cup buttermilk
Filling
- 1/2 cup cooked ham diced very small
- 2 large eggs
- 1/4 cup milk
- 3-4 drops green food coloring
- Salt and pepper
- 1 cup shredded cheddar cheese
Instructions
Buttermilk Crust
- Before you begin measuring everything out, place the cubed butter in the freezer to chill.
- Sift together flour, sugar, and salt, and pour into the food processor. Add butter and pulse until butter is cut into the flour, but still has visible chunks.
- While pulsing, slowly pour in the buttermilk and continue to pulse until the buttermilk is incorporated into the dough. At this point, your dough should look like rough crumbs and just hold their shape if squeezed together. The dough will look a little scary, but don't worry. It's supposed to look like that!
- Lay a sheet of plastic wrap on the counter and dump half of your dough (crumbs) onto the sheet. Gather the edges and press tightly together to form a 1-inch thick disk. Do the same with the rest of the dough.
Rest
- Refrigerate for at least an hour, up to 24 (I like to make the dough the night before).
Prepare Crusts
- Preheat oven to 400°F and spray your mini muffin tin with cooking spray.
- On a floured surface, roll out your disks to 1/8-inch thick. Cut into 24 to 30 2 1/2-inch rounds. Press rounds into muffin tin.
- Pre-bake crusts for 10 minutes. If the centers of the crusts have puffed up, gently push them down with the back of a wooden spoon.
Prepare Filling
- Turn the oven down to 375°F.
- Whisk together eggs, milk, and food coloring.
- Add about a teaspoon of ham to each cup. Pour egg mixture over the top of the ham, filling to nearly the top of the crust. Do not overfill!
- Sprinkle salt and pepper over each of the cups. Top each with cheese.
- Bake for 11-14 minutes until your filling is set and cups are lightly golden.
Notes
Nutritional Information
Buttermilk Pie Crust Adapted From: B.Britnell
Used To Make This Recipe
Small Yield Instructions: This recipe halves cleanly, no cooking changes needed.
Make Ahead Instructions: This dough will keep in the refrigerator for 48 hours or up to 2 weeks in the freezer. Ham can be cut up to two days in advance. If you are short on time the day you need these, I recommend making them completely in advance, freezing, and defrosting them day of. You really can’t tell they were ever frozen.
Freezer Instructions: Allow to cool completely and freeze in an air-tight container. To reheat in the oven, bake on a cookie sheet at 350°F until warm, about 10 minutes. You can reheat small batches in the microwave by cooking them for 1 to 2 minutes.
If you make these, I would love to see them! Tag me @bakingmischief on Twitter or #bakingmischief on Instagram!
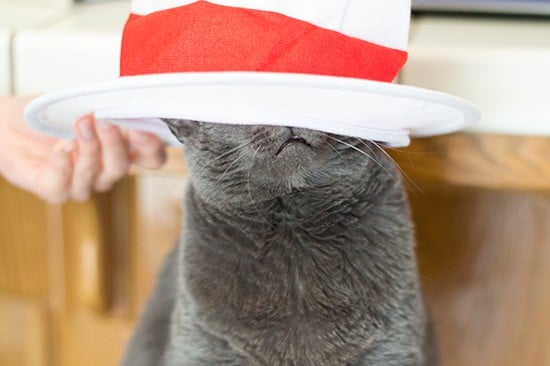
I was so excited to use this Dr. Seuss hat in the photos, but you can’t really tell what it is, so here’s a cat in the hat instead. 😉


Rahul @samosastreet.com says
Perfect bite to pop in for a quick and yummy breakfast.
Tracy says
Thanks, Rahul!
Oriana @Mommyhood's Diary says
I love quiche!! This mini version sounds like the perfect party food. Your cat looks adorable.
Tracy says
Thanks! Darcy and I are not talking at the moment because he went ninja-kitty on me last night when I tried to make the bed, but USUALLY, he is quite adorable. 😉
Matt @ Plating Pixels says
I’ve been making egg cups with ham lately for easy prepped breakfast. Will have to try yours with the crust!
Tracy says
Hope you like them!
Michele says
My niece is coming for a sleepover…. She will love this. I may switch the color to bright purple because that will make me the cool aunt! Purple food. ANd the fact that the aunt loves the kid food…. BONUS!!
Tracy says
That would be soooo cute! The only thing I worry is that the purple mixed with the yellow egg could turn brownish? I’m not sure, as I’ve never tried that combo. If you do it, let me know how it works out. Either way, world’s coolest aunt!! 😉
Emma @ Supper in the Suburbs says
I love these little bites of deliciousness! They’d be fantastic for lunchboxes.
Tracy says
Thank you! I didn’t even think of lunchboxes. That’s a great idea for them!
Dana says
This is so adorable! I married into a family that are Seuss fanatics. I’ll have to pull this dish sometime!
Tracy says
Thanks, Dana! I’m sure any Seuss fanatic would get a kick out of these. 🙂