These are the BEST chocolate chip waffles. Crispy, fluffy waffles packed with gooey chocolate chips ready to be topped with your favorite waffle toppings.
When was the last time you had a bit of fun with your breakfast? If your answer is, Too long ago or I don’t remember, friend, let’s fix that.
You should have chocolate chip waffles for breakfast.
These waffles are gooey, crispy, SO decadent, and completely delicious. They’re just about the most fun you can have before 8 AM.

What’s Great About These Waffles
- Crispy exteriors, soft and fluffy insides: These waffles (based off my favorite waffle recipe in the entire world) are designed to be ultra-crispy on the outside but soft and fluffy inside.
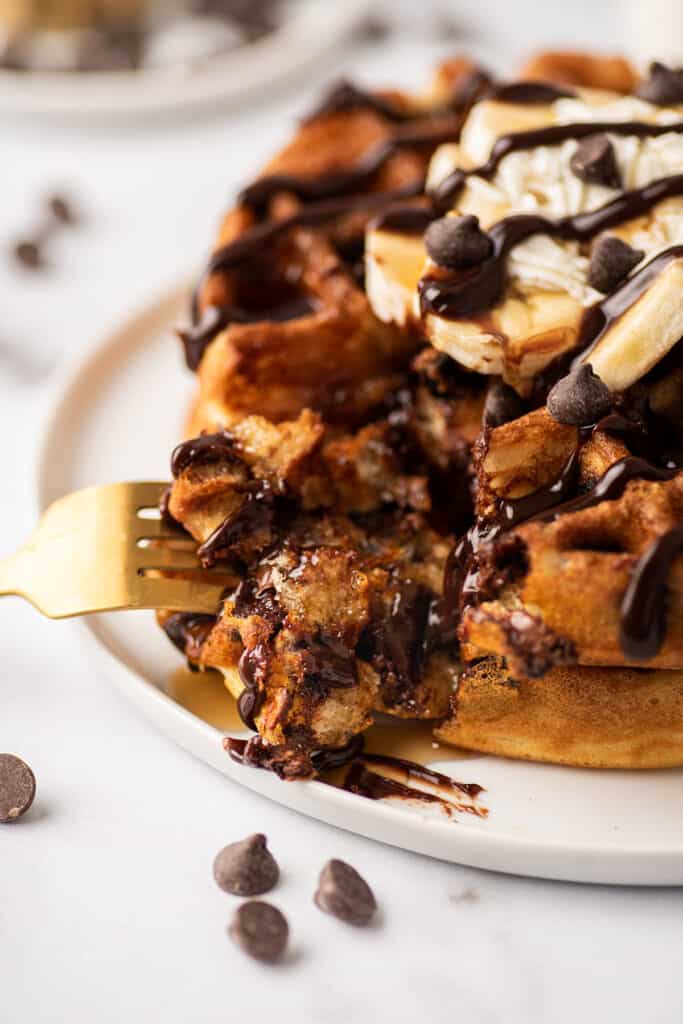
- Gooey, melty chocolate chips: There are a lot of chocolate chips in these waffles, so with every bite you get plenty of gooey, melty chocolate.
- Easy to make: On top of being really good, these waffles are also ridiculously easy to throw together. They use oil so you don’t have to melt any butter, and they’re perfectly fluffy all on their own so you don’t have to worry about whipping egg whites or digging a package of yeast out of the back of your cupboard.
Tool & Ingredient Notes
Waffle Maker: Yes you have to have a waffle maker to make waffles. If you don’t own one, this is the waffle maker I use. It’s not fancy or expensive but makes wonderful waffles, and I love that it can be stored vertically so it takes up very little cupboard space.
Corn starch: Corn starch is the secret to crispy waffles. I absolutely recommend using it, but if you don’t have any and really really want waffles NOW, you can replace it with the same amount of all-purpose flour.
Buttermilk: No buttermilk? No problem. You can make a quick buttermilk substitute with milk and lemon juice or vinegar (there are more detailed instructions in the recipe card below). If you do have real buttermilk, check out my post What to Do With Leftover Buttermilk for freezing tips and ideas for using up the leftovers (I recommend a batch of Beef Pasties).
How to Make Chocolate Chip Waffles From Scratch
This is a quick overview of the recipe process with extra tips and tricks. For the full printable recipe, scroll down to the recipe card below.
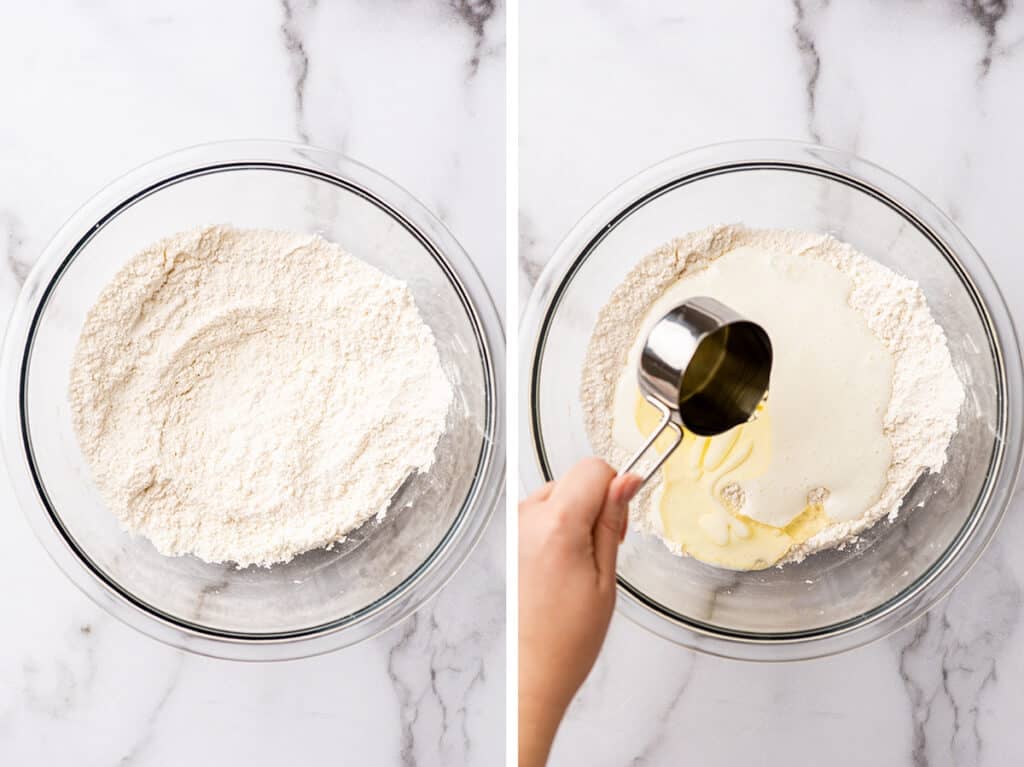
1. Mix the dry ingredients in a medium-to-large bowl.
2. Make a well in the center and add your wet ingredients. It will seem like this is a LOT of liquid, but don’t worry, the recipe is correct. Mix until the batter is just combined. You shouldn’t see any dry flour in your bowl, but a few lumps are normal and expected.
3. Rest your batter. Why does the batter need to rest? Resting the batter allows the gluten to relax and for it to absorb some of the liquid and thicken slightly. Don’t skip this step. If you’re serving your waffles with fruit or a full breakfast spread, this is a perfect time to start prepping the rest of your breakfast.
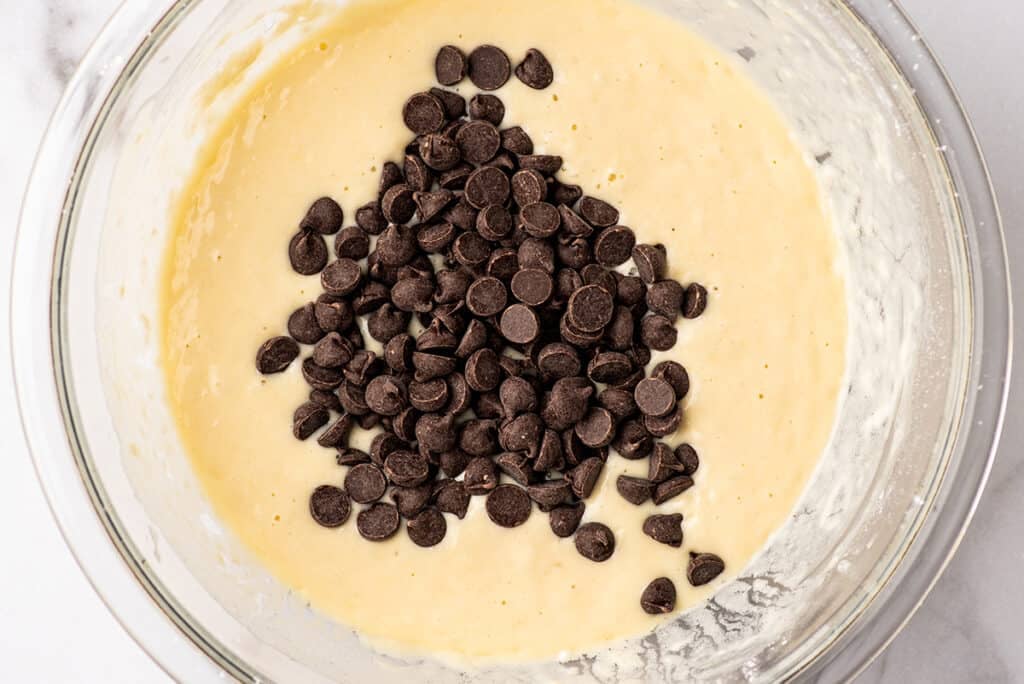
4. Add the chocolate chips and gently fold them into the batter.
5. Cook the waffles in a preheated waffle iron according to iron instructions. All waffle irons are a little different, so follow the instructions for your particular machine. For mine, it takes 1 cup of batter and cooks in about 2½ to 3 minutes per side.
Filling Your Waffle Iron: For any waffle iron, make sure it’s properly preheated before adding the batter. Ladle the batter in slowly, filling holes where more batter is needed. Give the batter just a bit to set (about 10 seconds) before closing the lid. This will help prevent it from squeezing out the sides when you close the lid.
6. Transfer cooked waffles to an oven-safe cooling rack (if you have one) placed over a baking sheet in your warm oven while you cook all the batter. The cooling rack will allow air to circulate under the waffles keeping the bottoms crispy while they sit. The steam from just-cooked waffles sitting for too long directly on a surface can make the bottoms soggy.
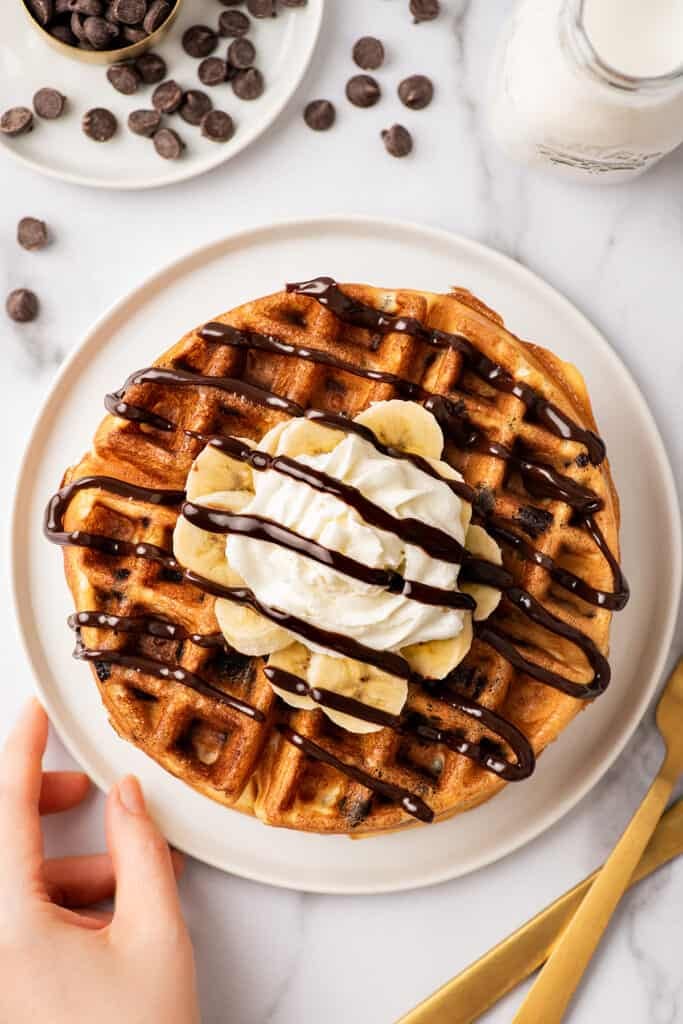
7. Plate up, top with toppings, and enjoy!!
FAQ
What toppings go on chocolate chip waffles?
You can serve chocolate chip waffles with classic butter and syrup. They’re also incredibly good with sliced fruit, fudge sauce, whipped cream, and a bit of syrup.
For a truly indulgent treat, make a waffle sundae and add a scoop of ice cream, chocolate sauce or peanut butter sauce, and sprinkles.
Do I need to grease my waffle maker before cooking the waffles?
If you have a non-stick waffle maker, you shouldn’t need to grease the plates before cooking your waffles. BUT if you typically need to use cooking spray with your particular waffle maker, go ahead and do so.
How much batter does this make/ how many does it serve?
This recipe will make a bit over 2 cups of batter, which depending on your waffle maker translates into about 2 to 4 waffles. This generously serves 2 but can be stretched to serve 3 to 4 if you’re serving kids or serving the waffles with a full breakfast.
Can this waffle recipe be doubled?
Absolutely. You can double or triple the recipe with no preparation changes needed. To change the recipe yield, hover over the serving size in the recipe card below or click if you’re on mobile, and slide the slider.
Can I freeze chocolate chip waffles?
Yes! Chocolate chip waffles (and waffles in general) freeze really well.
To freeze your waffles, store them in an airtight container or freezer bag for up to 2 months. When you’re ready to reheat them, place frozen waffles on a baking sheet and bake in a 350°F oven for about 10 minutes or until heated through and crispy.
More Chocolate Chip Recipes
More Breakfast Recipes

Chocolate Chip Waffles
Ingredients
- ¾ cup (90g) all-purpose flour
- ¼ cup (30g) corn starch
- 1 tablespoon (12g) granulated sugar
- ½ teaspoon baking powder
- ¼ teaspoon baking soda
- ½ teaspoon salt
- 1 cup buttermilk *
- ⅓ cup vegetable oil
- 1 large egg
- ¾ teaspoon vanilla extract
- ½ cup chocolate chips
- Melted butter optional for serving
- Syrup optional for serving
Instructions
- In a large bowl, whisk together flour, corn starch, sugar, baking powder, baking soda, and salt.
- Make a shallow well in the dry ingredients and add buttermilk, vegetable oil, egg, and vanilla. Stir together until just combined.
- Allow batter to rest for 30 minutes.
- Preheat oven to 200°F or set it to the warm setting and set a baking sheet (with cooling rack if you have one) inside.*
- After the batter has rested, fold in the chocolate chips.
- Preheat waffle iron and cook batter according to your iron’s instructions*, typically 4 to 6 minutes per waffle, until waffle is nicely golden and has mostly stopped releasing steam.
- Transfer waffle to your warm oven while you cook the rest of the batter.*
- Top with melted butter and syrup if desired, and enjoy!
Notes
This post may contain affiliate links, which means I receive a small commission if you make a purchase using them. There is absolutely no additional cost to you.


Priscilla says
I was busy looking for the review I was sure I’d left only to remember I tagged you on Instagram instead. But this recipe is so good it needs a review. They are as you describe, crispy outside and fluffy inside. Super delicious with the added bonus of being easy to make.
Thanks for a fantastic recipe.
Priscilla says
Exactly as promised, crunchy outside and fluffy inside. Love them!! Thanks for a fantastic recipe
Liz says
I made this recipe using 1:1 Bob’s Red Mill gluten free flour and it came out phenomenal. I didn’t have buttermilk so I used a milk+vinegar substitute. The cornstarch was a great touch! Light, fluffy, crispy waffles.
Tracy says
So glad to hear these worked well with those modifications!! Thanks for reporting back!